
Cassava Cake with Macapuno

This Cassava Cake with Macapuno is a beloved Filipino dessert that’s rich, creamy, and full of tropical flavors. Made with grated cassava (tapioca root), coconut milk, and sweet macapuno (preserved young coconut strands), this cake is a two-layered treat: a dense, chewy base topped with a luscious custard-like topping. It’s a perfect dessert for celebrations, fiestas, or anytime you want to indulge in something decadent and uniquely Filipino. Let’s get baking!
Ingredients You’ll Need:
For the Base Layer:
- 4 cups grated cassava (fresh or frozen, thawed and drained)
- 1 can (13.5 oz) coconut milk
- 1 cup condensed milk
- 1/2 cup granulated sugar
- 1/2 cup unsalted butter , melted
- 3 large eggs , lightly beaten
- 1 teaspoon vanilla extract
- 1 cup macapuno strings (sweetened preserved young coconut)
For the Topping:
- 1 can (13.5 oz) coconut milk
- 1/2 cup evaporated milk
- 1/2 cup granulated sugar
- 3 large egg yolks , lightly beaten
- 1 teaspoon vanilla extract
- Additional macapuno strings , for garnish
Step-by-Step Instructions:
Step 1: Preheat and Prep
- Preheat your oven to 350°F (175°C) . Grease a 9x13-inch baking pan or line it with parchment paper for easy removal.
Step 2: Make the Base Layer
- In a large mixing bowl, combine the grated cassava, coconut milk, condensed milk, sugar, melted butter, eggs, and vanilla extract. Mix well until smooth and fully combined.
- Stir in the macapuno strings, reserving a small amount for garnish.
- Pour the mixture into the prepared baking pan and spread it out evenly.
Step 3: Bake the Base Layer
- Bake the base layer for 45–50 minutes , or until the edges are set but the center is still slightly jiggly.
Step 4: Prepare the Topping
- While the base layer is baking, prepare the topping by whisking together the coconut milk, evaporated milk, sugar, egg yolks, and vanilla extract in a medium bowl.
Step 5: Add the Topping
- Once the base layer has baked for 45–50 minutes, remove it from the oven and pour the topping mixture evenly over the partially baked cake.
- Sprinkle additional macapuno strings on top for garnish.
Step 6: Finish Baking
- Return the cake to the oven and bake for an additional 20–25 minutes , or until the topping is set and golden brown.
- Remove from the oven and let the cake cool completely in the pan before slicing.
Step 7: Serve and Enjoy
- Slice the cake into squares and serve at room temperature or chilled.
- Pair with a cup of coffee, tea, or a cold glass of milk for a delightful treat.
Why You’ll Love This Recipe:
- Rich and Creamy: The combination of cassava, coconut milk, and macapuno creates a luxurious texture and flavor.
- Two Layers of Delight: A chewy, dense base topped with a smooth, custard-like layer makes every bite irresistible.
- Tropical Vibes: The macapuno adds a sweet, nutty coconut flavor that’s unmistakably Filipino.
Tips for Success:
- Use Fresh or Frozen Cassava: If using fresh cassava, peel and grate it finely. If using frozen cassava, thaw and drain excess liquid before using.
- Don’t Overbake the Base: The base should be slightly jiggly when you add the topping—it will finish baking as the topping sets.
- Cool Completely: Allow the cake to cool completely before slicing to ensure clean cuts and proper setting.
Ways to Enjoy Your Cassava Cake with Macapuno:
- For Special Occasions: Serve it at birthdays, weddings, or holiday gatherings—it’s a crowd-pleaser!
- As a Dessert Staple: Keep it on hand for family desserts or afternoon snacks.
- Gift Idea: Package slices in decorative boxes for a thoughtful homemade gift.
- Pair with Coffee: Enjoy a slice with a hot cup of coffee or tea for a comforting treat.
This Cassava Cake with Macapuno is a celebration of Filipino flavors, combining the earthy texture of cassava with the creamy sweetness of coconut. With its two distinct layers and tropical flair, it’s a dessert that’s as beautiful as it is delicious. Whether you’re making it for a special occasion or simply craving a taste of home, this recipe is sure to bring joy to everyone who tries it. So grab your ingredients, fire up the oven, and get ready to enjoy a plateful of creamy, coconutty goodness! 🥥
News in the same category


Chipotle Ranch Grilled Chicken Burrito
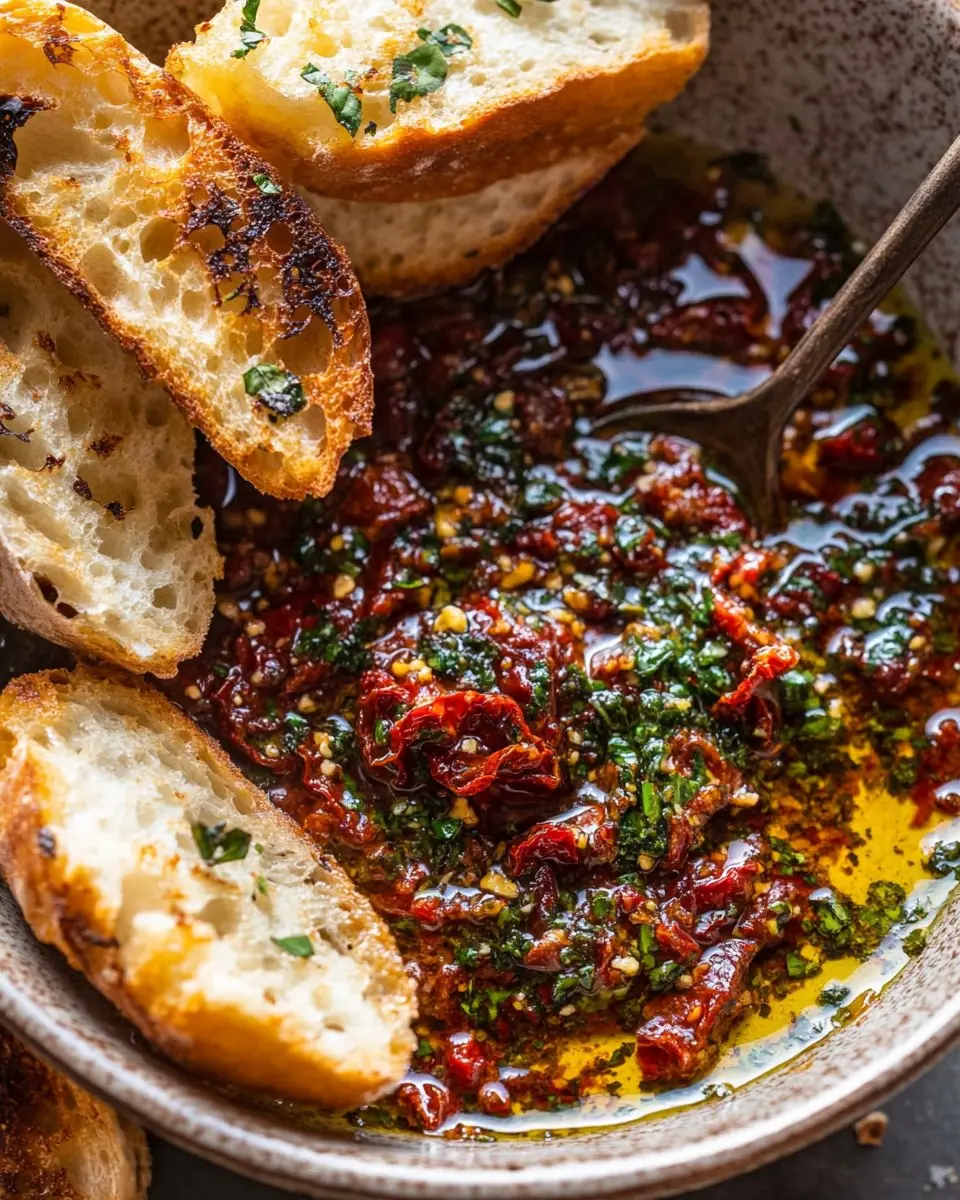
Sun-Dried Tomato & Parmesan Dip

Cauliflower Crown with Creamy Mushroom Gratin

Mediterranean Egg & Veggie Plate

Creamy Tuscan Chicken and Gnocchi (30 Minutes, ONE-PAN)
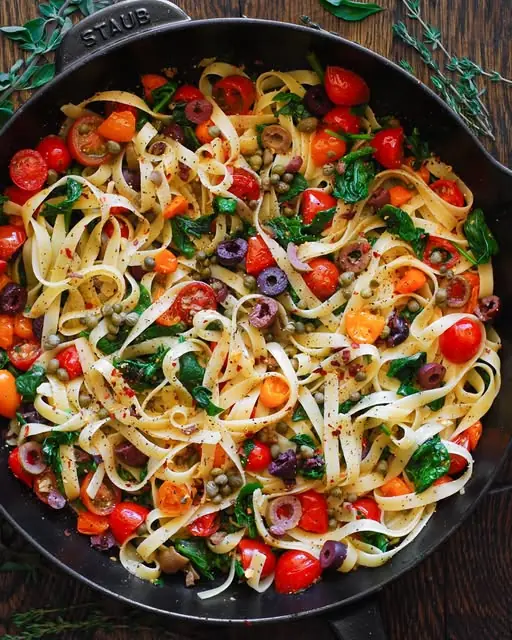
Tomato and Spinach Pasta

Avocado Corn Tomato Salad with Creamy Cilantro-Lime Dressing
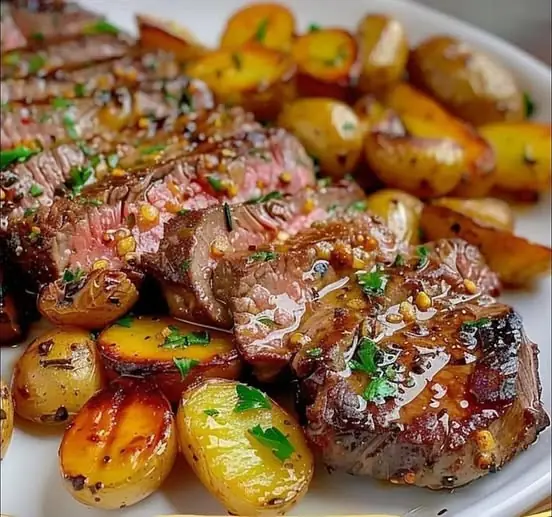
Garlic Butter Steak and Potatoes
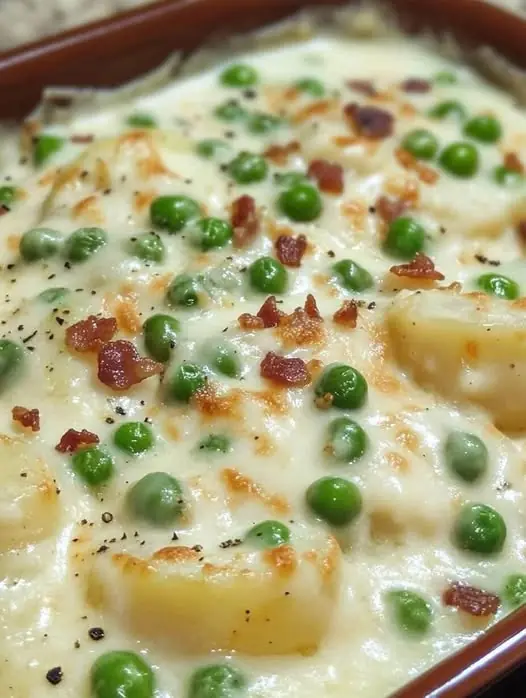
Creamed Potatoes and Peas Recipe

Super easy. It’s a dump meal. Total cost about $12 or less… this one feeds a lot.

Best Chocolate Chip Cookies Recipe

Filet Mignon with Creamy Mushroom Sauce
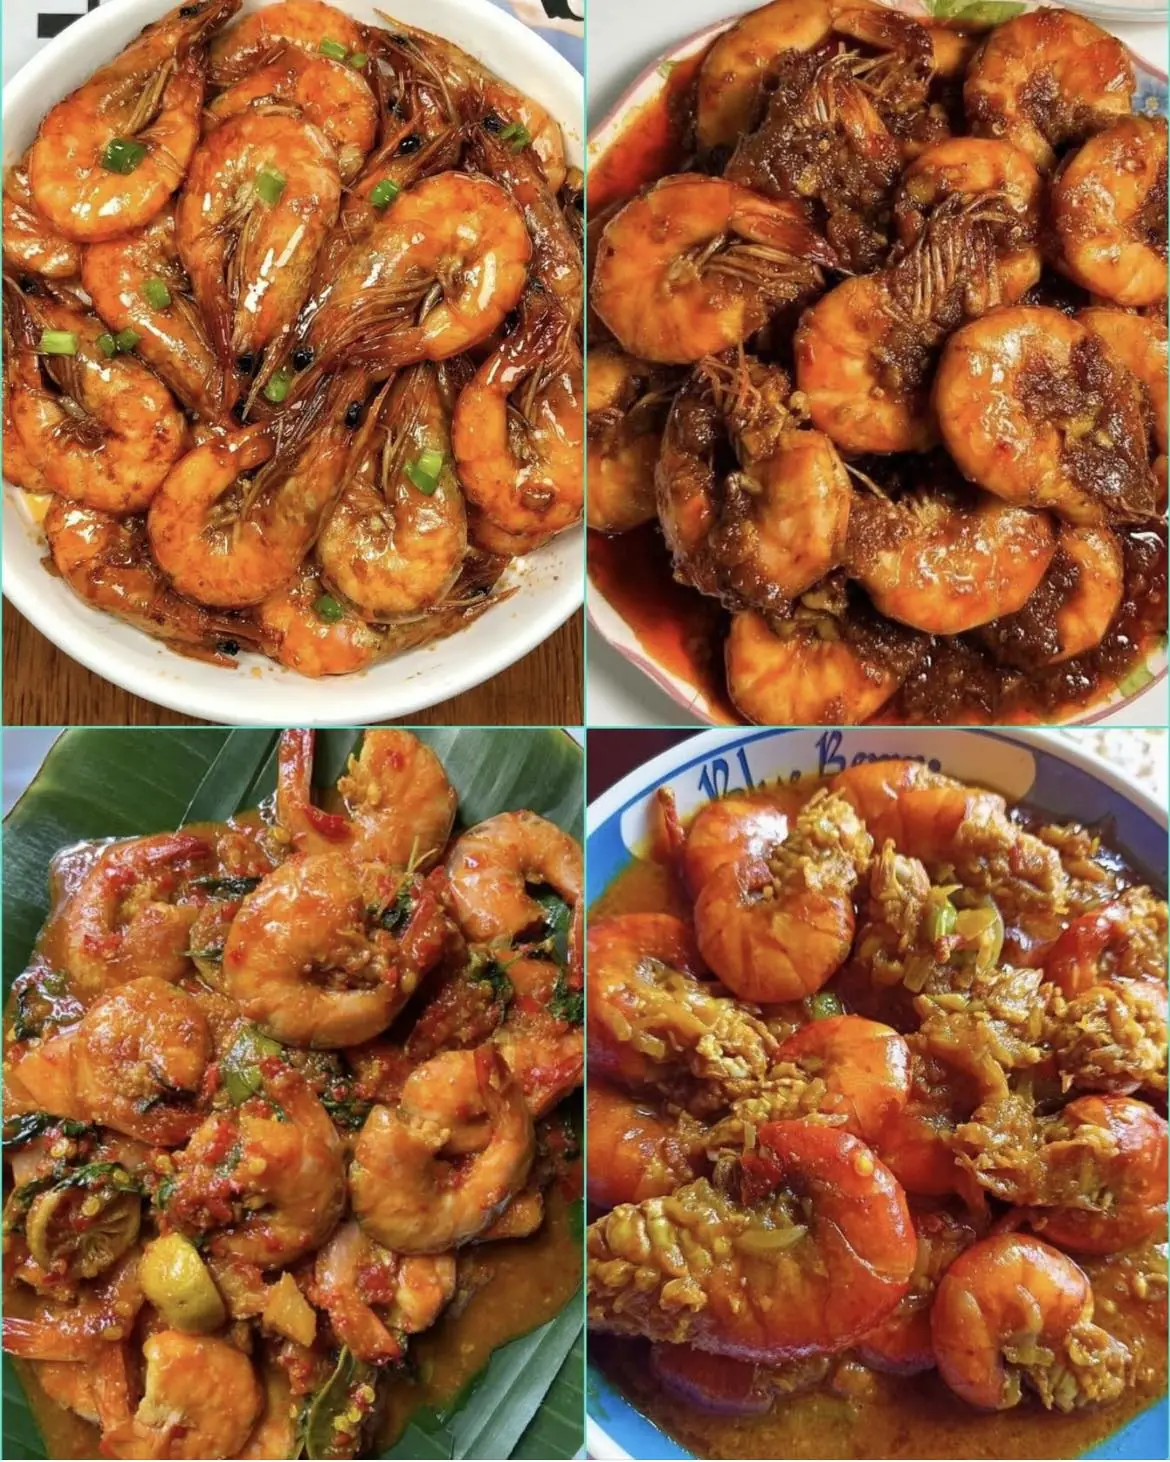
Garlic Buttered Shrimp – Quick, Juicy, and Flavor-Packed

🥢 Ginger Scallion Sauce – A Bold, Aromatic Staple for Every Kitchen

Crispy Fried Shrimp Recipe – Golden, Crunchy, and Irresistible

Rustic No Knead Rosemary Garlic Bread

Chicken Sausage & Roasted Veggie Bowl

Garlic Herb Chicken & Carrot Plate
News Post

BBQ Chicken & Creamy Mashed Potatoes

Chipotle Ranch Grilled Chicken Burrito

Sun-Dried Tomato & Parmesan Dip

Easy Rotisserie Chicken Salad with Sesame Dressing

Cauliflower Crown with Creamy Mushroom Gratin

Chicken Bacon Caesar Pasta Salad
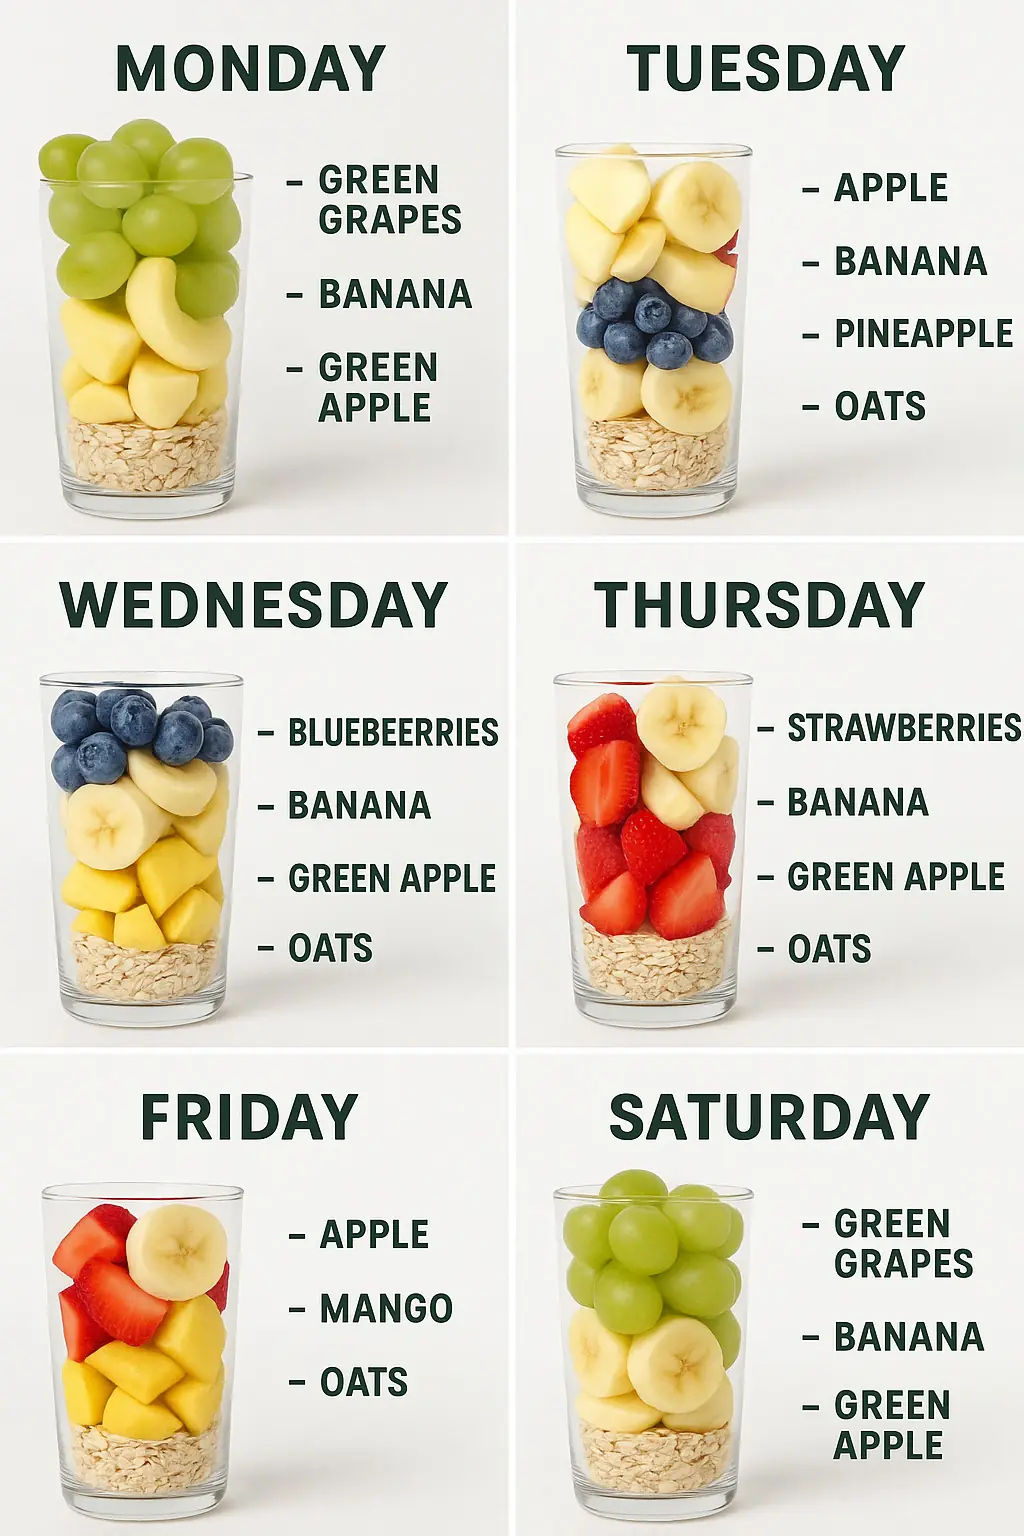
Weekly Oat Fruit Smoothie Plan

Smoothie 1 of the 21-Day Challenge

Super Juice Recipes for Boosting Immunity, Detoxing, and More

Cleansing & Wellness Juices

Mediterranean Egg & Veggie Plate
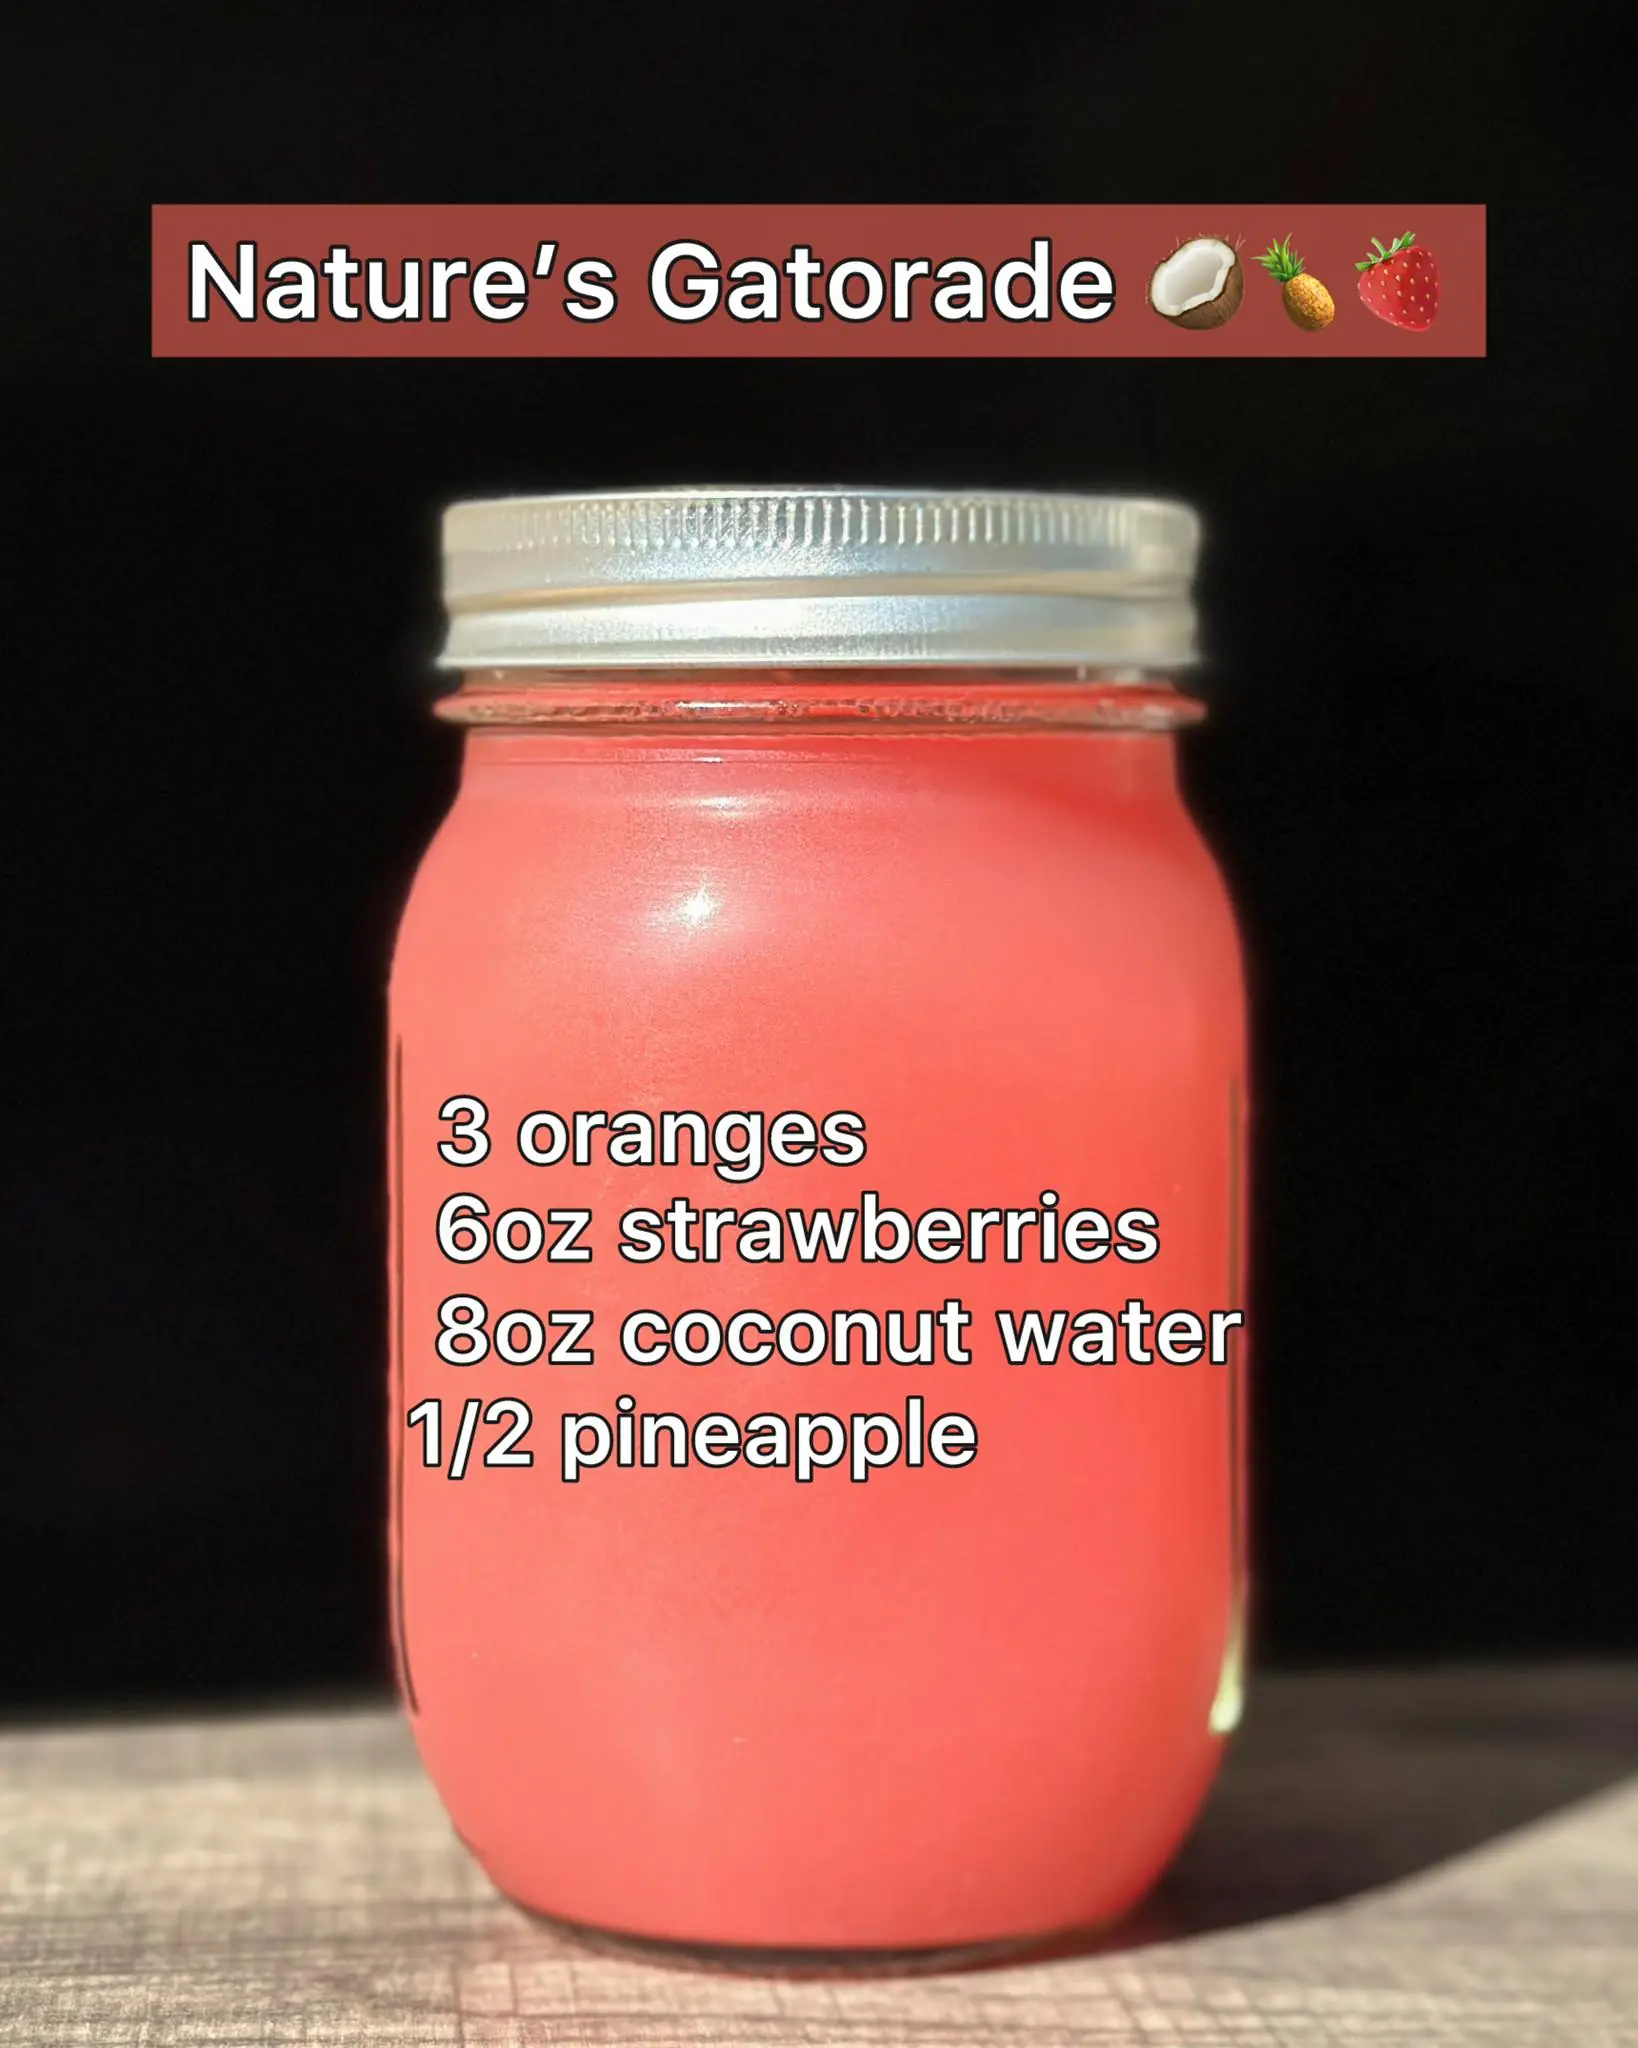
🥥🍍🍓 Nature’s Gatorade Recipe

🍓🍎🍋 Strawberry Apple Juic

Creamy Tuscan Chicken and Gnocchi (30 Minutes, ONE-PAN)

Tomato and Spinach Pasta

Avocado Corn Tomato Salad with Creamy Cilantro-Lime Dressing

🥤 4-Day Fresh Fruit & Vegetable Juice Plan

Garlic Butter Steak and Potatoes

Creamed Potatoes and Peas Recipe
